Where To Find Me:

Etsy: makingtembo.etsy.com
Instagram: @taftisseamstress
Tumblr: taftisseamstress.tumblr.com


Special Questions? Custom Orders (hint hint wink wink)? : makingtembo@gmail.com


Wednesday, June 29, 2016

Graduation Outfit


A photo posted by Taft Weber-Kilpack (@taftisseamstress) on

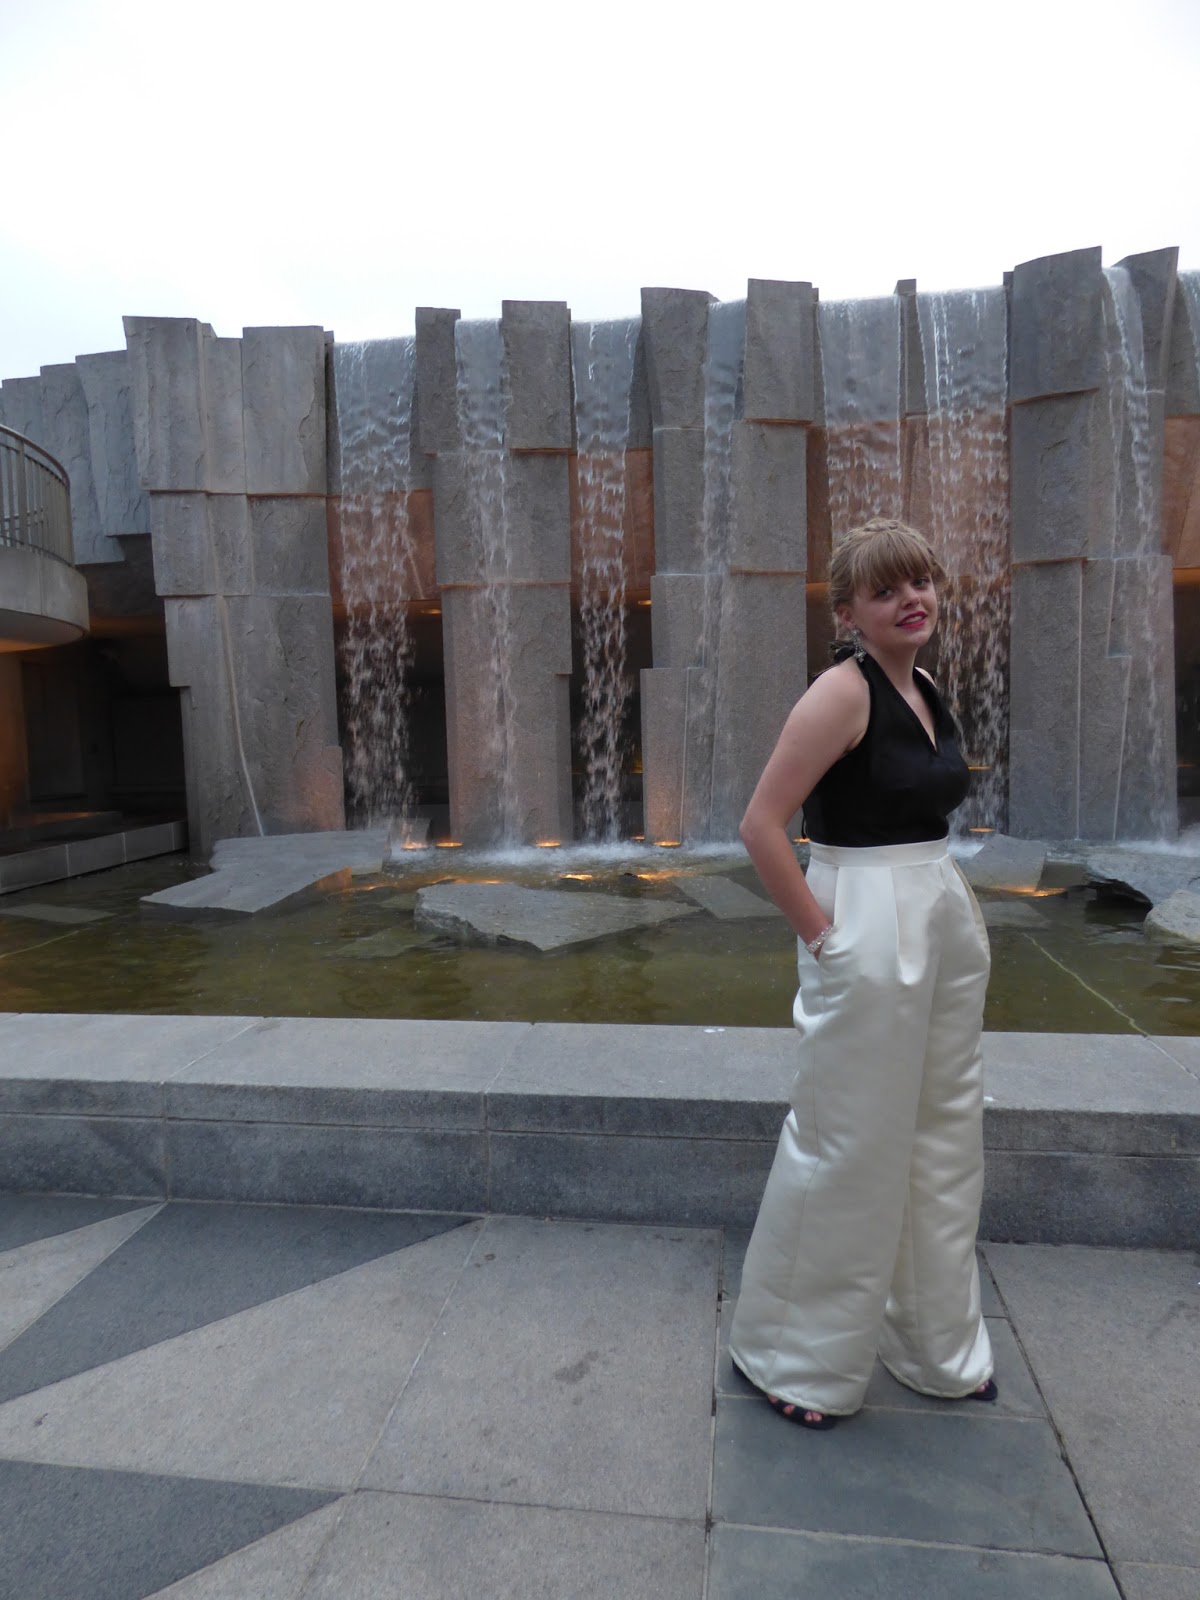
I have a love-hate relationship with this outfit. I ADORE the white dress (which I started sewing just hours before I needed to be wearing it, and technically didn't have enough fabric). The green slip underneath however...not sure how much I want to talk about it. 

I think I had really big dreams for this ensemble. I had a very specific mental-image of what I wanted it to be, and I mostly achieved that. But I only achieved that because you can't see any of the slip except the color. 

I tried draping the bodice of the slip on my dress form, and that went...actually I'm not sure where it all went wrong. I had to adjust the darts once, but I'm not sure if the pattern never fit, or I didn't use the right sewing techniques for the silk, or I was cursed by an archaic sewing entity because of my sewing revolution. We may never know. 

So here's the only pictures you will get of the green slip: 


So let's just forget about the green slip and move onto the white dress...


The pattern is the Xerea Dress from Pauline Alice Patterns. I had to reduce the width on a lot of the pattern pieces because I was a little short on fabric. 


The plain white linen is from Fabric Outlet during a 40% off sale (of course). 


I picked up the white eyelet from La Droguerie in Paris when I was there last summer. It came in a little bundle and I loved it at first sight! I was saving it for something special and I'm really glad I decided to use it for this project. 


I just adored the seam lines on this dress pattern. 


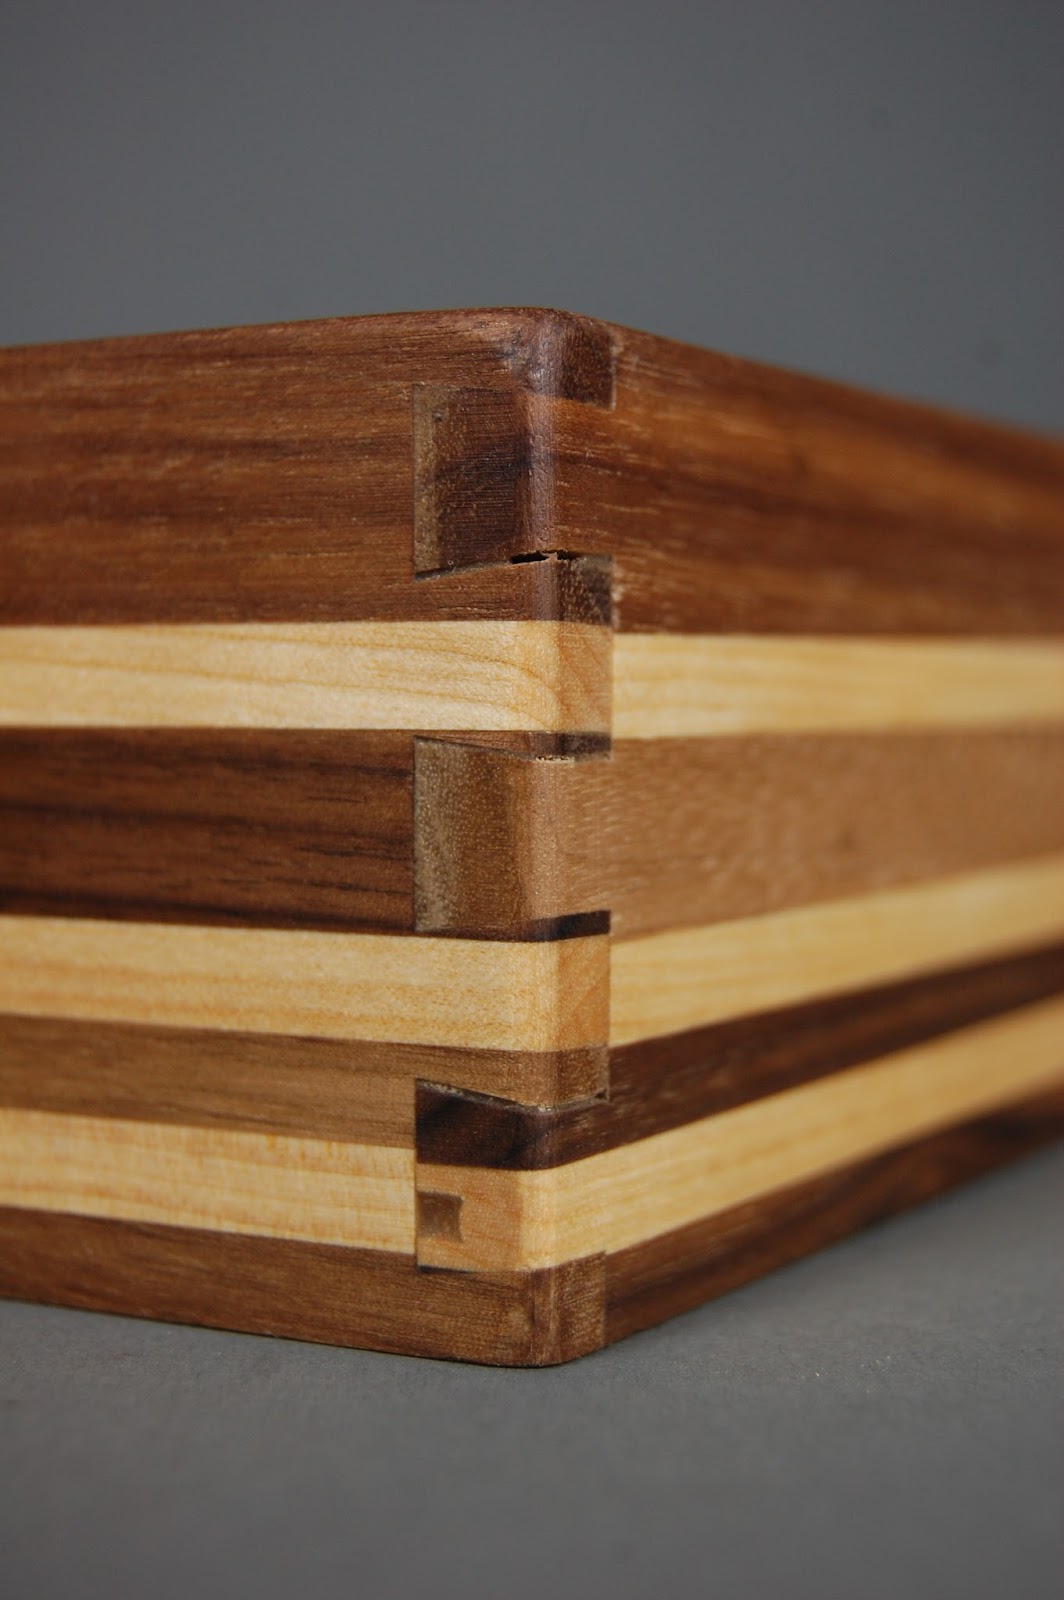
I used French seams on both the slip and white dress, and I think it turned out fairly well for my first major attempt at french seams. The white dress has great seams, but the green slip is a whole different story. But we're not gonna talk about it. 


You can see a hint of the slip in this photo. Here are details I am willing to disclose: V-neck and bias strips for the straps. Everything else is strictly need-to-know. 


And there's an extra little peak at the French Seams. 


I generally don't get a lot of photos of myself wearing stuff I made, so here is one!

And since this outfit was for my graduation, here's a picture of my friend and I wearing our caps:


My cap is on the left and Cam is on the right...It's the first few lines of our favorite book :)

Hope everyone else is enjoying their summers!
Taft WK


Wednesday, June 22, 2016

Metal Chair: Part 1 (100th post!)

I never imagined we'd make it here: this is Making Tembo's 100th blog post! I've been posting on here for about 3 years - it originally started as a resume-type thing to get an internship, but has really grown as a way for me to track my work, learn from other people, and learn to tell stories about what I make. The blog is still an amazing resume too - and if anyone has questions about what I do or how the blog works, please be in contact! 

This post is the first part of 3. I designed this metal chair in my Metal Fabrication: Rethinking Furniture class this last semester. We were graded on our process photos, which was a really great practice for me. I'd like to get in the habit of having more process photos, just like this! 

The first post (this one) will talk mostly about the design process and the beginning of construction. The second post will be about the bulk of the construction, and the third will be about finishing touches and the final product. Hopefully I don't bore y'all :)

I've never taken a class like this one before, and it was an eye-opening experience. The amount of freedom we were given while designing was very empowering. I feel like I got to think very deeply about the object I was going to make, which I haven't done for many other projects. 

Here's a link to my design presentation. You can see that it starts out with the words I chose to describe the object I wanted to create, then moves into research and inspiration pictures. I decided to make a chair for my sewing space, so there's also some pictures of my sewing machines and the table they sit on in my room. And finally, there are screenshots of my original CAD drawings. 


The curve of the back was calculated using some design books, so it will hug the curve of the back and be very ergonomic. The back and seat stayed the same, but the base changed a lot over the course of the construction process. We realized that the design in this picture was not going to be stable at all, but I kind of tabled the issue until later on and dove right into making the seat and back part. 


These are my clay models, which I used to decide the proportions of the top and bottom. 


I also laser-cut the silhouette out of MDF. When I did this, a friend and I tested the curve of the back and I made some adjustments to the height of the curve to make it more comfortable. 


Before starting construction, I thought through what the best way to make the top and seat was. My teacher and I knew there were two routes we could go: bending metal bar to make all of the curves, or cutting out pieces on the plasma cutter and welding them together. On two different pieces of paper, I planned out what the construction process would look like for each option. Even though using the plasma cutter was going to be slightly more straightforward and exact, I decided to bend metal bar, because I liked the rounded edges of it more. 


So I used the metal rollers to mock-up some of the pieces. 


It was lots of guess and check to finally get it to the place I wanted it to be: 


And then I did the same thing with the bottom: 


I also mocked up what I wanted the cushions to look like, but (like an idiot) I completely forgot to take pictures of that :/. 

Next post, I'll get into more of the construction process and how the design changed over time. Here's a little sneak-preview: 


Happy 100th post!
-Taft WK

Wednesday, June 15, 2016

Prom 2016: A Personal Rebellion

Honestly, I feel like sewing is my own personal rebellion. When I make something, I don't have to listen to anyone else's instructions or ideas about what clothes should look like, how they should fit, or what sizes mean. It's so liberating!

So in continuing with bucking societal expectations, I decided I was going to attend a formal event in pants with pockets. Here's a picture of my original sketch: 


It changed a lot during the process. 

I wanted to draft my own pants, but when I found this pattern in an old BurdaStyle magazine, I figured there was no point in reinventing the wheel, especially when that wheel is free and your time is limited. 


The pattern has an invisible zipper, integrated hip pockets, front pleats and back darts. 

I made a mock-up and got some beautiful ivory satin at Britex Fabrics. 


Honestly, I am beyond happy about these pants. They're comfy as hell and have so much room in the pockets. I could put my phone in them and it wouldn't look weird! Success! 

Here's a close up I posted on Instagram: 

A photo posted by Taft Weber-Kilpack (@taftisseamstress) on


Mom helped me pin the pants (this works best when you can be more eye-level with the hem, hence me standing on the dining room table). 

I didn't get any process photos of the top. It changed a lot from the original sketch. I made a mock-up of my first idea, but realized it wouldn't be flattering with the fit of the pants (shout out to the fashion croquis for not looking like real people at all). So I drafted/draped a new top pattern, which was a fitted halter top that tied at the neck and back. 

However, I decided to make it using the fabric I originally purchased for a very loose and drapey top. Obviously, that didn't go well at all. So I had to start over with some satin left over from last year's prom outfit. Yay for reusing! (Which is actually code for "Yay for not spending more money!")


(Mom did that really great braided hairdo!)

Here's the back. The neckline and sides of the top are finished with a bias binding that are extended at the neck and back to be ties. I really should have taken better pictures. I do have a picture of the bias strips that I posted on Instagram: 

A photo posted by Taft Weber-Kilpack (@taftisseamstress) on


The top tucks into the pants. I think my favorite part of this outfit was the graphic contrast of the ivory pants and black top. As well as the fact that I got to flaunt the fact that I had pockets all night. 


So anyway, have I talked about how comfortable and freeing this outfit was? Didn't need to carry a purse cause I put my phone in my pocket. Didn't worry about being cold because yay pants! I could do all types of dance moves, like this:

Photo taken by Lauren Hom

I crashed the People-In-Suits photo to make it a People-In-Pants photo. Seriously, could you pose like that in a floor length dress? Nope. Nor can you crash photos like this. 


Down with the gender norms I say! You can wear whatever you want I say! Sewing rebellion I say!
-Taft WK

Wednesday, June 8, 2016

My New Obsession: Lace Tatting!

I don't 100% remember how I found out about lace tatting - I just know that as soon as I did, I was fascinated by it. I really like lace, but often run into the problem that it doesn't look modern enough for my taste. So I just figured I'd try to make it myself. 

You might have seen my first attempts on Instagram: 

A photo posted by Taft Weber-Kilpack (@taftisseamstress) on


When I saw "materials scavenged from scraps," I'm very serious about that. After finding the pattern/outline of a shuttle in a book, I realized I could make my own without spending *any* money. And as someone who frequently has a net worth of less than $15 due to her fabric store spending habits, this was very appealing. So I found some scrap MDF in the Physics classroom, and cut out the shape on a bandsaw during Engineering class (not what I was actually supposed to be doing during class, but whatever). Then I found some tangled up string on the ground, a friend helped me un-knot all of it (shoutout to her, she's a true MVP), and started working!

Lace tatting was simultaneously easier and harder than I expected it to be. The entire motif is made of just two different kinds of knots repeated over and over again, but keeping track of them all is so difficult! And so was worrying about thread tension, front vs. back, the picots...

But I persevered! And spent more money at the fabric store!


A photo posted by Taft Weber-Kilpack (@taftisseamstress) on


I got yellow and gray crochet yarn - so I was starting to be a little bit more legit than my free materials ;). You can imagine my dismay however, when I found out the yarn was not actually 40% off like the rest of the store. This was a slight setback in affording other materials. I was still working with the MDF shuttle, which was okay. Because it didnt have a sharp point, joining picots was hard, so I also had to carry around a pin to pull the thread through the loops. I spent a little more time than my friends would have preferred walking around with a pin in my shirt because there was no where else to put it. Oh well! 

So I called about 4 stores around San Francisco, trying to find one that sells lace tatting shuttles. After many answers of "What even are those?" I finally found a store that did! I started cheering and the lady on the other end of the phone thought I was a little loony. I guess teenagers aren't supposed to get this excited about oddly specific crafting supplies. 

But the saga continues: A few weeks later, my net worth rose above $10 and I could finally afford the cheapest shuttles they sell at the knitting store! Yay! I would have ordered them online, but shipping costs money, which I didn't really have. Welcome to the life of a broke teenager. 


I got a pack of two small shuttles, and I also treated myself to some beautiful yarn. I learned that thicker yarn is easier to tat with, so I found some nice light-blue stuff that was a little bit bigger than the crochet yarn I already had. 


The design of the blue yarn is also the first motif I designed myself! I had previously been teaching myself from this book (shoutout to the SF Public Library): 


(Here's a link to it's Amazon page

I love all the little motifs in this book, and that's where the rest of the designs in this post are from. 

So as the resident un-sponsored pitchwoman of vanishing crafts, here's why I love lace tatting: 

A photo posted by Taft Weber-Kilpack (@taftisseamstress) on


1. It travels very well!


2. Once I bought some yarn to start, I haven't spent money (on lace tatting supplies specifically) ever since! 


3. Even if you're super cheap and using yarn scraps, the motifs still look cool when they're just half-finished!


4. Three words: Netflix and Tat. 


5. When you say "I've been tatting," it sounds like you're a tattoo artist and then people think you're waaaayyyy more badass than you actually are. 


6. You will discover your inner hoarder as you make all these little things that you can't get rid of, but don't really know what to do with them. 


7. It's good exercise for your hands! (I think? I have to take breaks every once in a while because my hands cramp up from trying to maintain the yarn tension.)


8. It's never-ending. 


Well, that's the end of my listicle, but please let me know if you would like to start a Youth Lace Tatting Club or have any questions about how to craft on a budget of basically zero dollars. 
-Taft WK

Wednesday, June 1, 2016

Wooden Tray with Stripes and Dovetails

Remember the wooden bowl I posted about a month ago? This project is from the same class. I wanted to make two pieces that would look good next to each other – but not necessarily be matching.


Here’s the box I designed. I was thinking I could put it on my shelves to hold earrings or something. I wasn’t particularly attached to the dimensions of the box, but I knew I wanted it to be square, have dovetails, be made of the same wood as the bowl (walnut and poplar), and have the right proportions between the stripes. Here’s the isometric: 


I wish I took more process photos, but I forgot. I started by finding all the right wood and sanding it down to the right thicknesses for the stripes. Then I glued them all together in a big block. Once that was dry, I sliced the block width-wise into 4 pieces for the sides of the box.

Once I had all the pieces, I cleaned them up a little and made sure they were all the same length. Then I used a dovetail set up thing that I don’t know the name of and a router to cut the dovetails. Once that was done, I cut grooves in the bottom. 


I hammered it together to make sure it all fit. The striped lined up perfectly!


(You can see the hammer in the corner of the picture.)


I also cut a square of light wood for the bottom of the box. It’s not poplar, but it was a similar enough color.

Then I sanded all the edges and corners, finished it with beeswax and ta da!


I don’t know what was up with the light – it looks a lot redder in the picture than it does in real life. 


I tried to sand the inside of the corners, but they still don’t look as clean as I wish they did. 


I also woodburned my name and the year into the bottom of the box. 


Absolutely love how the dovetails turned out. 


Now THIS is much closer to the actual coloring!


The walnut I used takes on a lot of different colors. 


There will be another couple posts about shop projects coming soon!
-Taft WK